Red Velvet Crinkle Cookies | Fudgy, Festive Holiday Treat

Introduction
Holiday baking should feel joyful, not stressful. But many cookie recipes promise soft centers and bold flavor, only to turn out dry, flat, or disappointing once they cool. Red velvet crinkle cookies are especially tricky because they need the right balance of moisture, structure, and timing to achieve that iconic crackled look with a fudgy center.
This recipe solves those problems. These red velvet crinkle cookies bake up rich and chocolatey, with a soft, brownie-like texture inside and crisp powdered sugar cracks on the outside. They look festive enough for Christmas trays, cookie swaps, and gifting, yet they’re simple enough for beginners and Pinterest planners who want reliable, beautiful results.
Why Red Velvet Crinkle Cookies Can Be Hard to Get Right
Red velvet cookies sit between chocolate cookies and brownies, which makes texture control important. Too much flour leads to dryness. Too little structure causes spreading. The signature red color can also fade if the dough isn’t mixed or baked correctly.
Another challenge is the crinkle effect. The powdered sugar coating only cracks if the dough rises properly in the oven. When the dough is too warm or overmixed, the cookies bake flat and lose their visual appeal.
Many recipes also rush the chilling step or skip it entirely, which impacts both texture and appearance.
Common Mistakes People Make
One of the most common mistakes is not chilling the dough long enough. Warm dough spreads too quickly and prevents proper cracking.
Another issue is undercoating the dough balls in powdered sugar. A light dusting melts into the surface instead of creating bold white cracks.
Overbaking is also a frequent problem. These cookies should look slightly underdone in the center when removed from the oven. They continue to set as they cool.
Using old leavening agents or inaccurate oven temperatures can also affect rise and texture.
Practical Solutions for Perfect Red Velvet Crinkle Cookies
Choosing the Right Ingredients
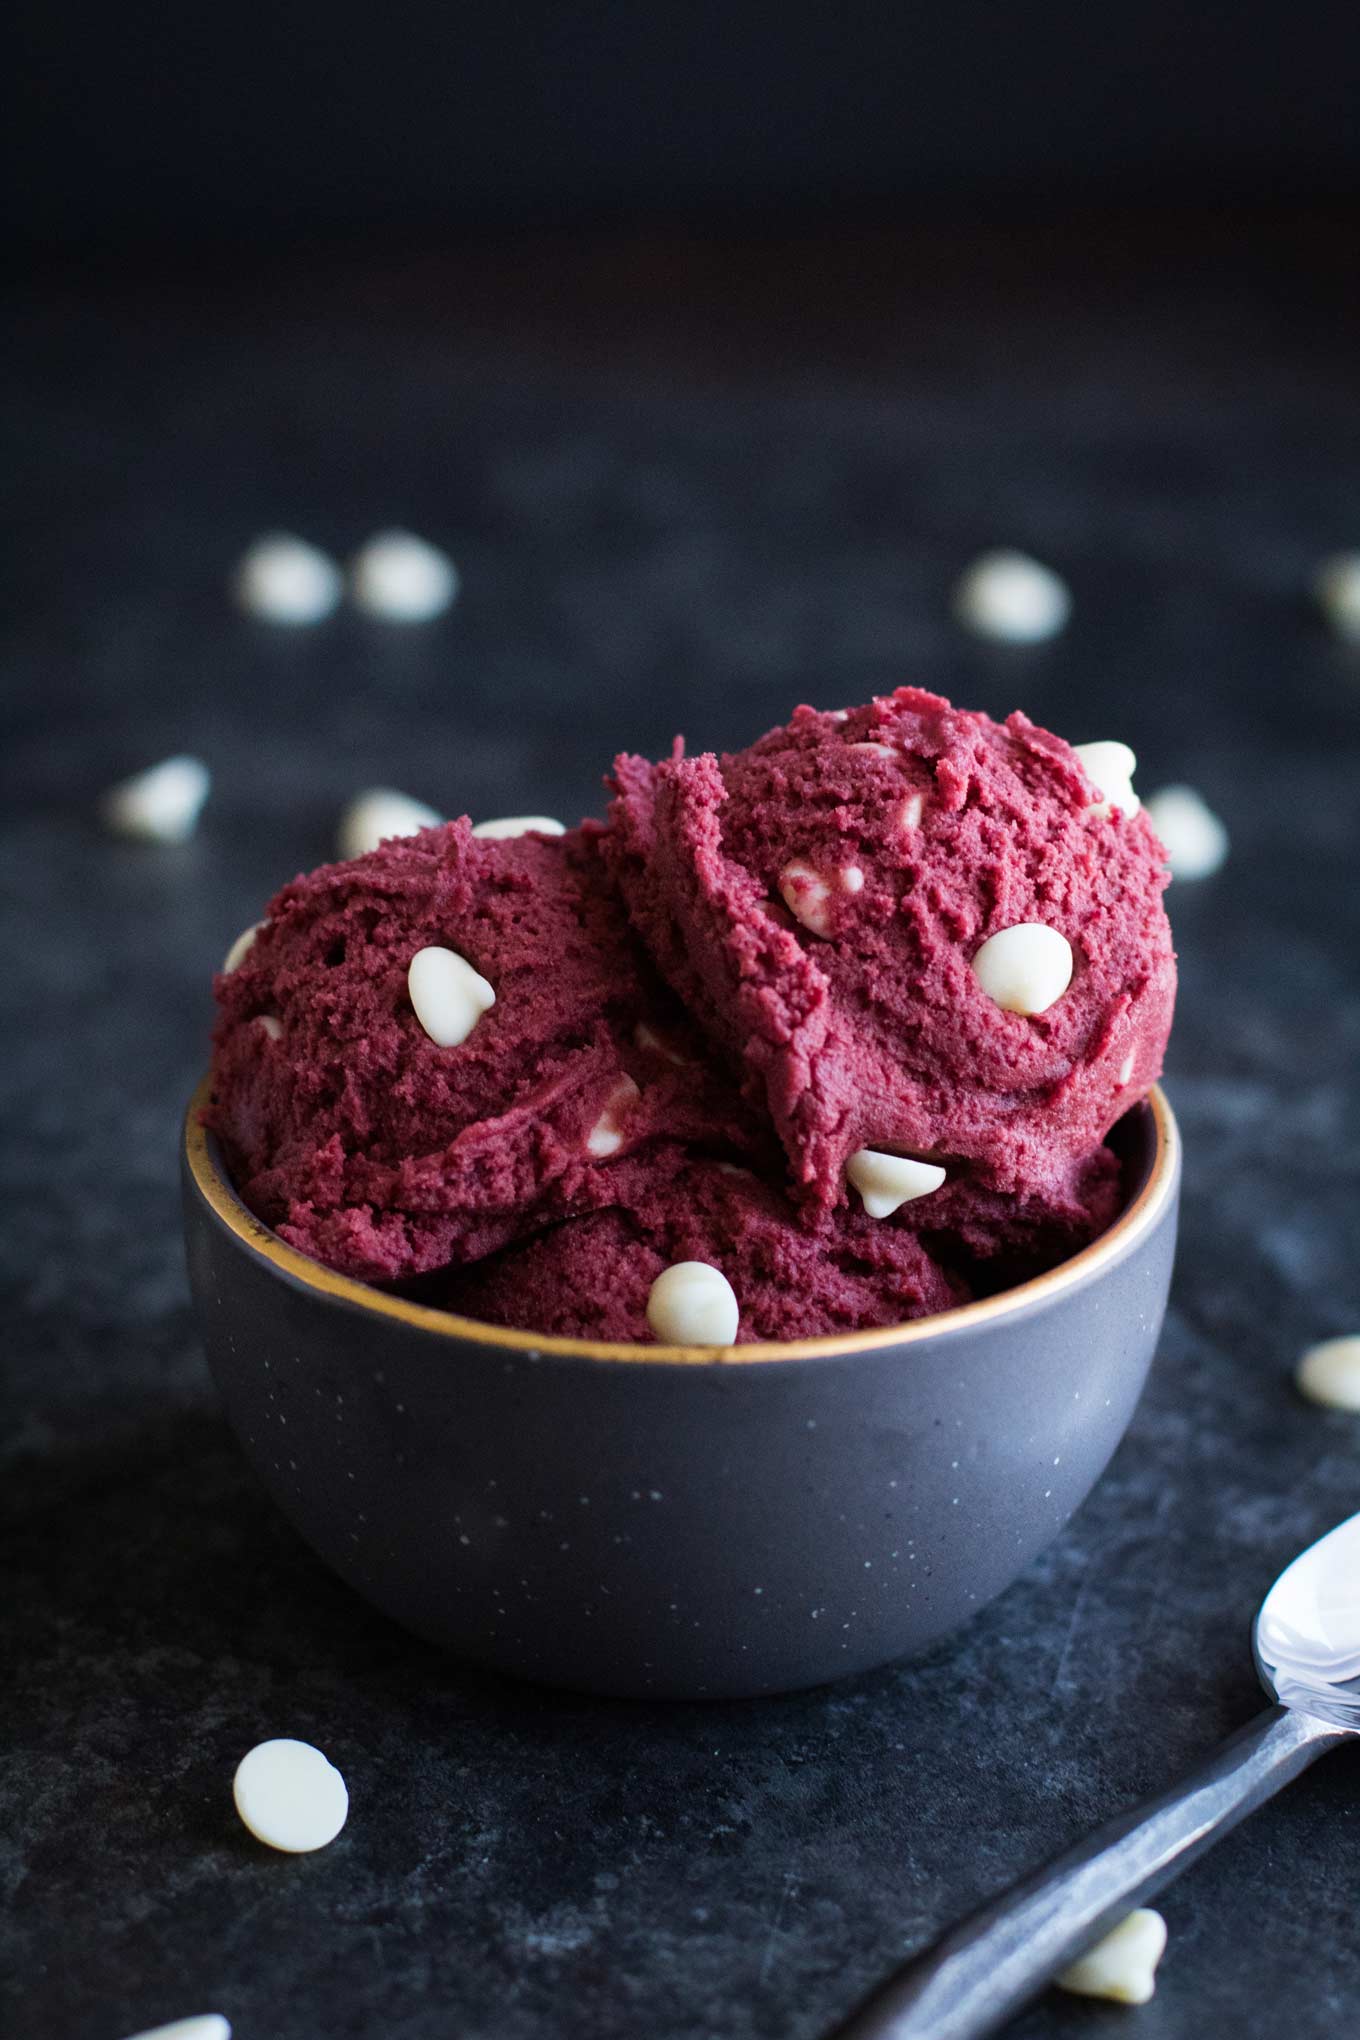
Use unsweetened cocoa powder for a deep, balanced flavor. Red food coloring provides the classic holiday color, but gel coloring works best because it doesn’t thin the dough.
Room-temperature eggs blend more smoothly, creating a consistent dough. Granulated sugar helps with structure, while powdered sugar is essential for the crinkle finish.
Mixing the Dough Correctly
Creaming the butter and sugar properly creates air pockets that help the cookies rise. Add eggs slowly to avoid overmixing. Dry ingredients should be folded in gently to maintain softness.
Once mixed, the dough should feel thick but scoopable.

Chilling and Shaping
Chilling the dough for at least two hours is critical. Cold dough holds its shape and encourages cracking.
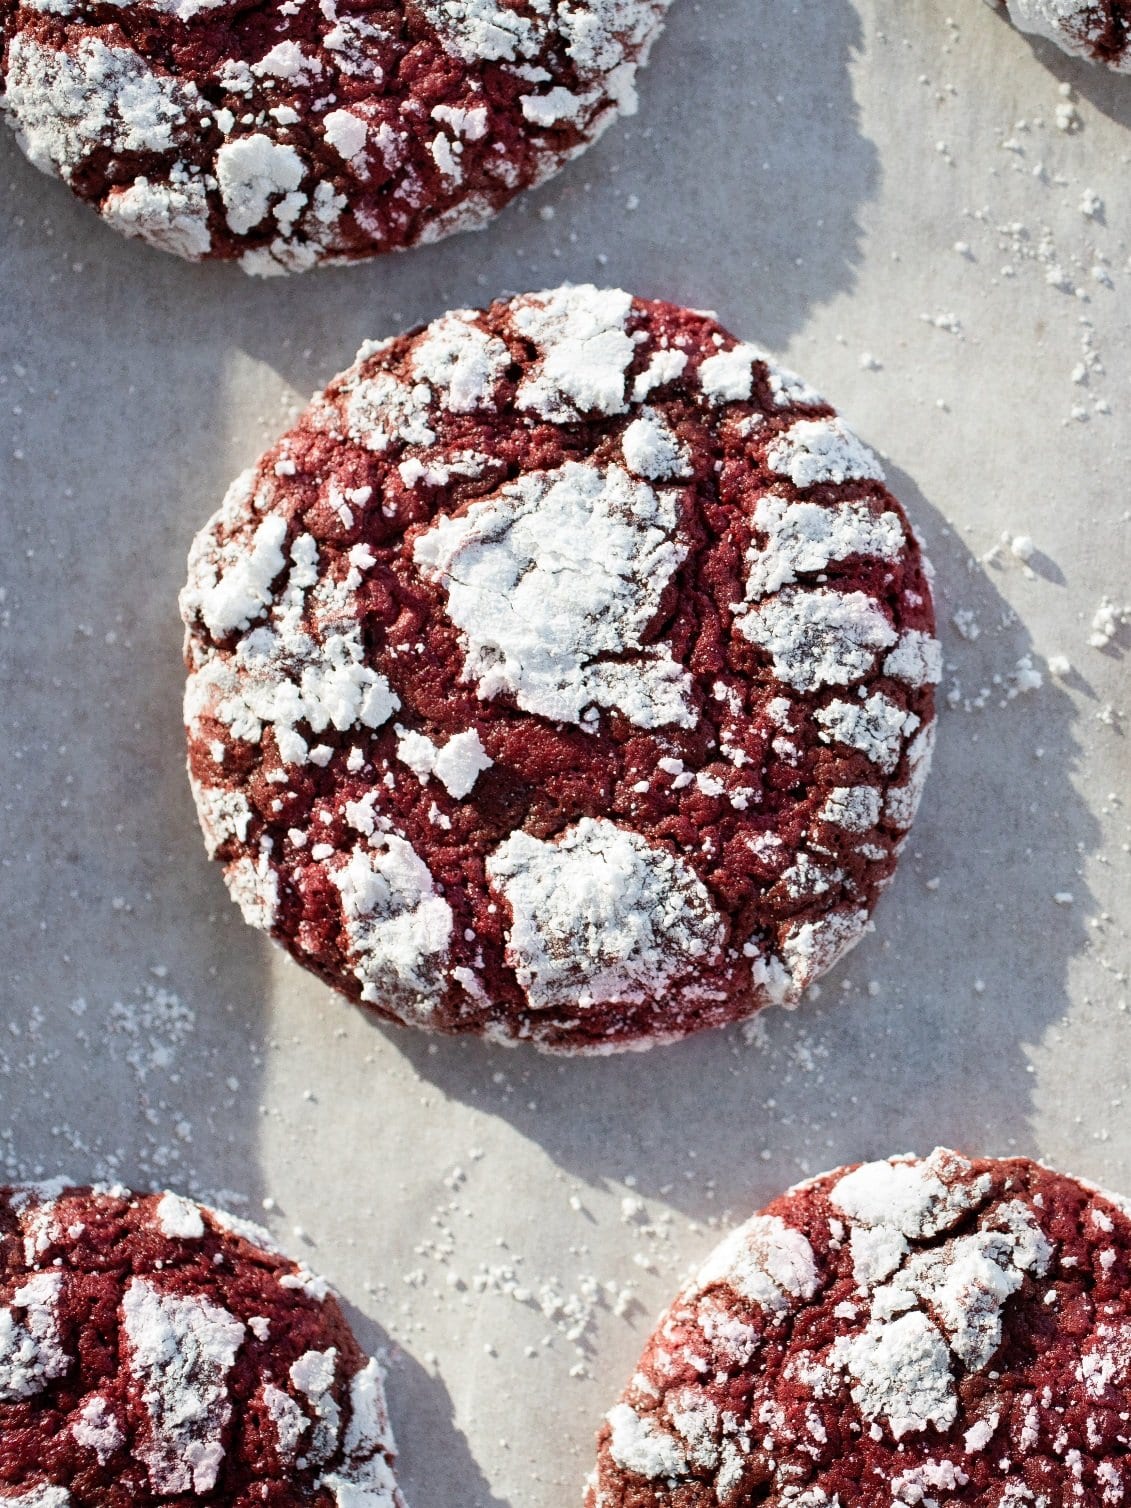
Roll dough into evenly sized balls, then coat generously in powdered sugar. A thick coating is what creates that high-contrast crinkle look after baking.
Baking for the Best Texture
Bake at a moderate temperature and remove cookies when the edges are set but the centers still look soft. This ensures a fudgy interior once cooled.
Let cookies rest on the baking sheet briefly before transferring to a rack. This prevents breaking and allows them to firm up naturally.
Why This Method Works
Chilling slows spreading, powdered sugar creates surface tension, and controlled baking preserves moisture. Together, these steps create cookies that are soft inside, crisp outside, and visually striking.
High-RPM Related Subtopics That Elevate This Recipe


4
Holiday baking often doubles as gifting. Red velvet crinkle cookies store well in airtight containers and maintain texture for several days, making them ideal for cookie boxes.
Kitchen lighting plays a role too. Natural light helps you judge doneness and enhances cookie photography for Pinterest.
Using parchment paper prevents sticking and promotes even baking. Simple tools like a cookie scoop ensure uniform sizing, which improves appearance and bake consistency.
Visual and Practical Tips for Pinterest Users
Photograph cookies against white or neutral backgrounds to highlight the red color. Capture one image before baking and one after cracking for visual storytelling.
Stack cookies on holiday plates or tie small bundles with ribbon for gift-ready inspiration. Vertical images perform best for pins.
Save this recipe to boards like “Christmas Cookies,” “Holiday Baking,” or “Festive Desserts.”
Frequently Asked Questions
Do red velvet crinkle cookies need food coloring
Food coloring is optional, but it gives the cookies their signature festive appearance.
Can I freeze the dough
Yes. Freeze dough balls after rolling, then coat in powdered sugar just before baking.
How do I keep them soft
Store in an airtight container and avoid overbaking. Slightly underbaked centers stay fudgy.
Can I make these ahead
Yes. They taste even better the next day once flavors settle.
Are these good for cookie swaps
Absolutely. They hold their shape, color, and texture well.
Conclusion
Red velvet crinkle cookies are one of those holiday treats that look impressive without requiring complicated steps. With their rich fudgy centers, crackled sugar tops, and bold festive color, they bring instant holiday charm to any dessert table.
By understanding the reasons behind each step, you can bake these cookies with confidence and consistent results. Whether you’re baking for Christmas, gifting, or simply enjoying a cozy weekend treat, this recipe delivers flavor, texture, and visual appeal every time.
Save it, pin it, and make it part of your holiday baking tradition.